How to Draw Stairs on a Floor Plan
Not sure how to indicate stairs on a floor plan? It's easier than you think.
Drawing stairs on blueprints can feel tricky at first, especially if you're not familiar with terms like jump, elevations, threads, and risers, for example. But once you know the basics, you'll read floor plans like a pro and create clear drawings for your own projects.
Most common stair types
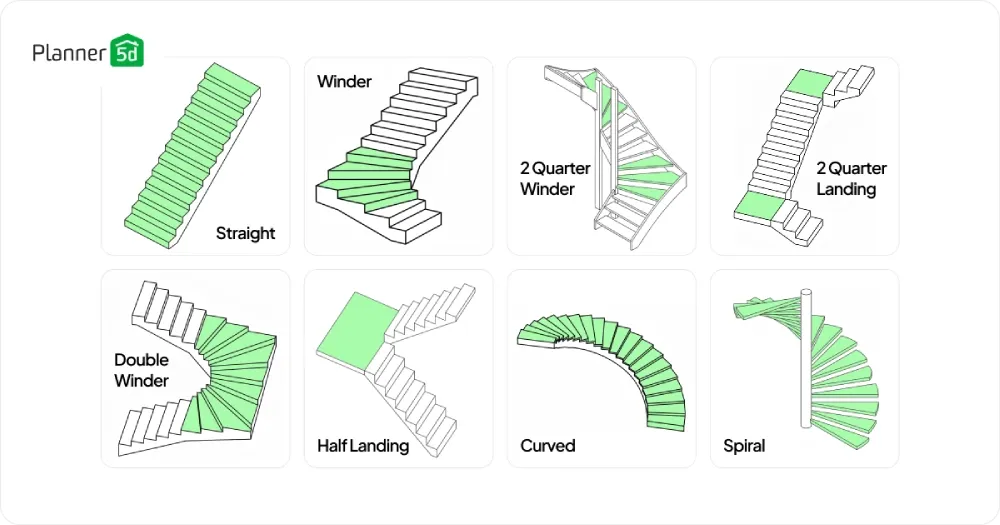
Every home needs stairs to connect different levels. Here are the most common staircase types you'll see on floor plans.
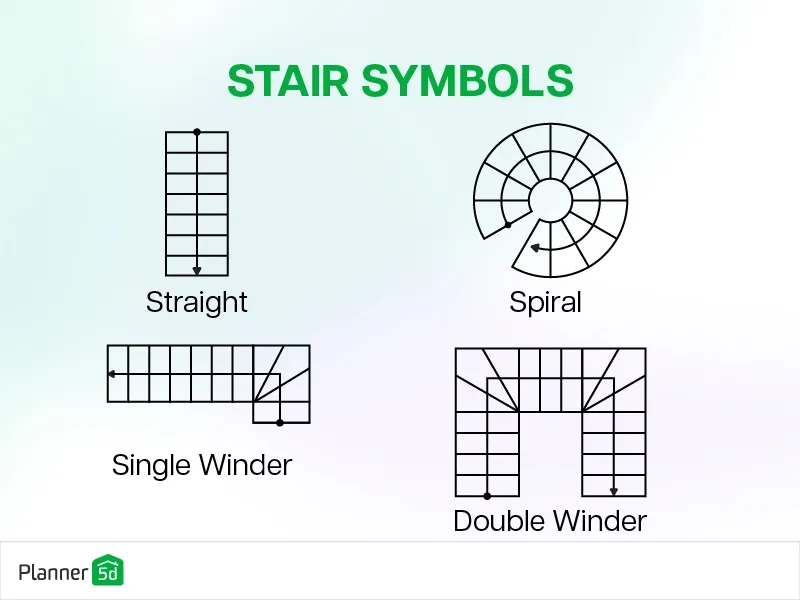
Straight stairs
The most basic stair type runs in one direction from the ground floor to the first floor. These stairs take up the least room width-wise but need the most length.
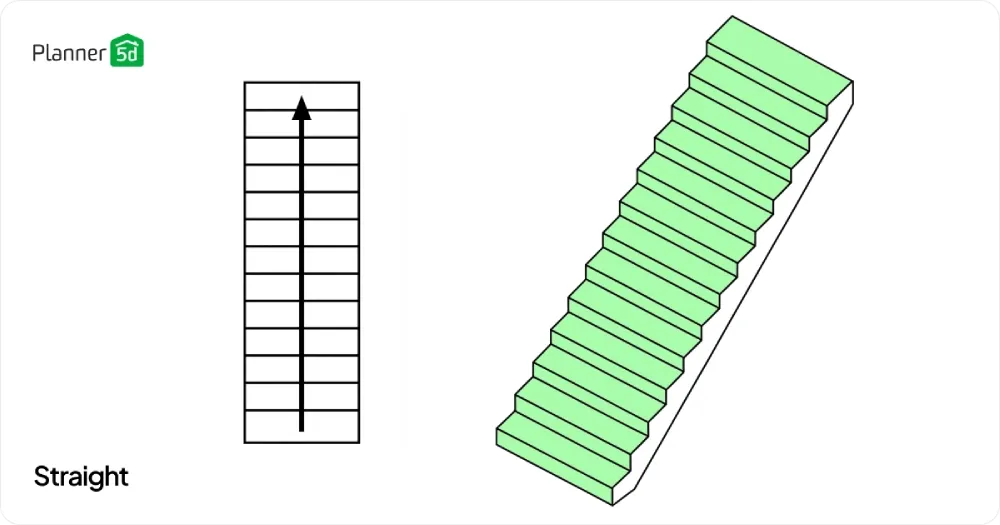
You'll draw them as a simple set of parallel lines with an arrow showing which direction people walk up. Most building codes require at least 36 inches of width, so make sure you have enough space before you start drawing.
Single winder
A single winder turns 90 degrees at one point, creating an L-shaped design. The winder step is the triangular tread that helps make the turn.
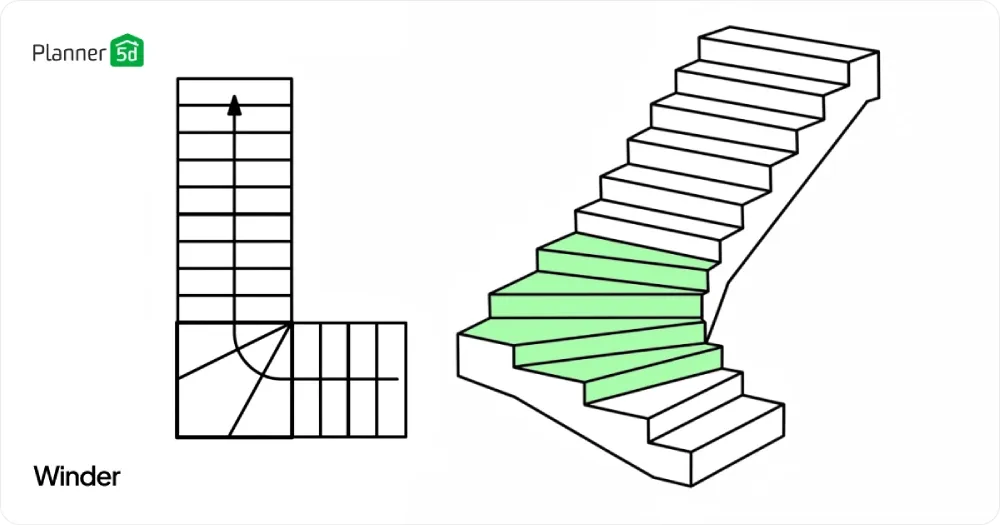
This stair type is ideal for tight spaces where straight stairs are not feasible. When sketching these on your floor plan, show the turn clearly with angled lines at the corner point.
Double winders
Double winders have two triangular treads that create the turn instead of just one. This makes the turn feel more natural to walk on compared to a single winder.
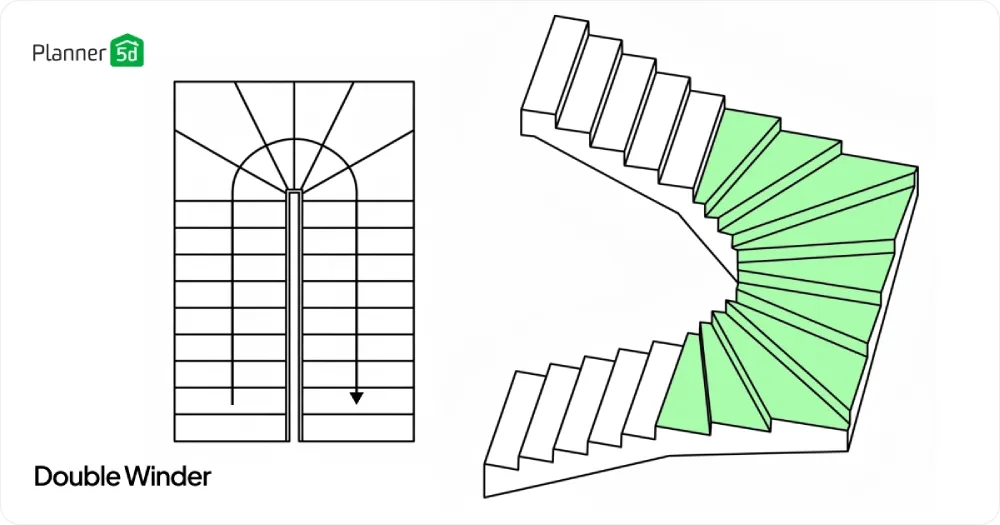
You'll see these in homes where there's more space to work with. Draw these by showing two angled steps at the turn point.
2 Quarter winder
Instead of landings, a 2-quarter winder uses triangular treads at two different points to make the full turn. This saves more space than the landing version, but it can feel tighter to walk on.
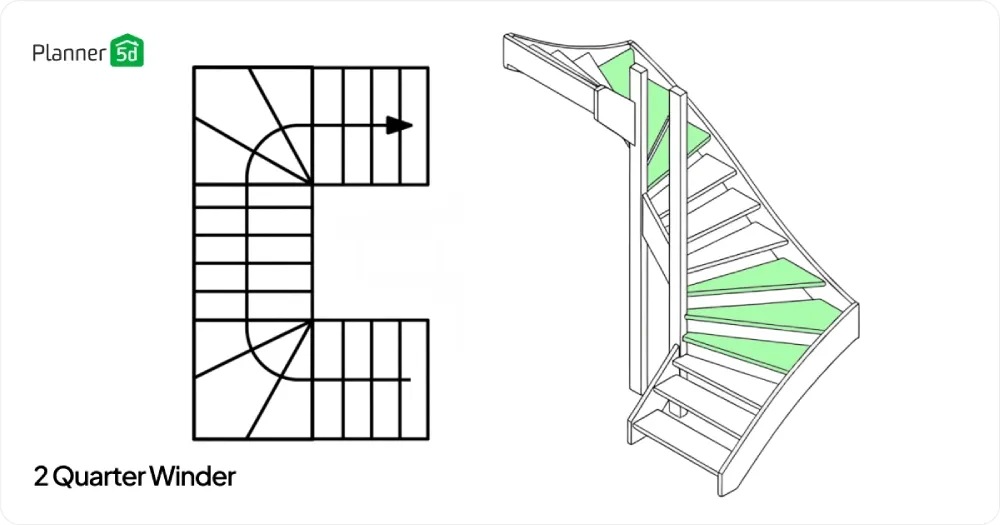
The winder treads appear as pie-shaped sections on your floor plan. Draw these by showing the straight stairs with angled treads at each turn point, creating the full U-shaped path.
Half landing
A half landing creates a small platform where the stairs change direction 180 degrees, making a U-shaped path. The landing gives people a chance to rest and makes the stairway feel less steep.
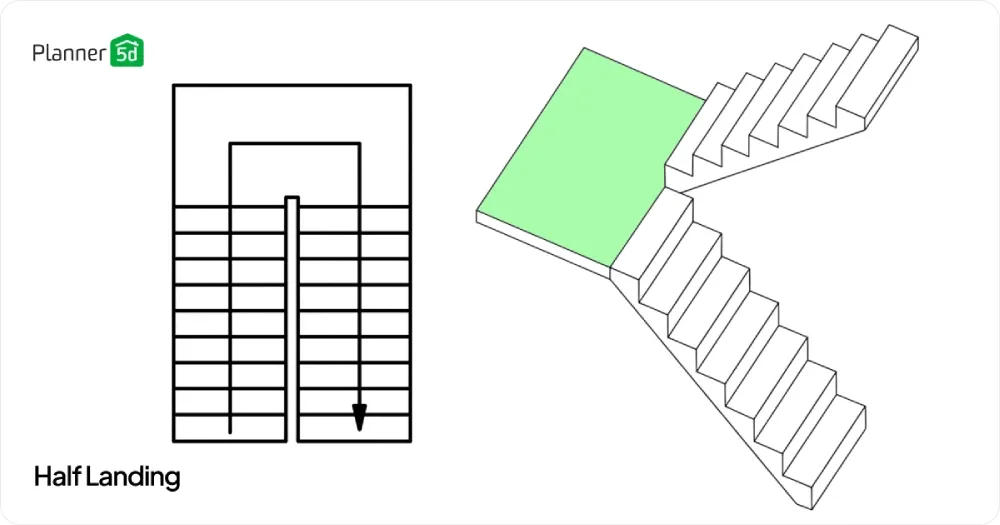
When you draw these, show the landing as a solid rectangle with stairs going up on both sides.
2 Quarter landing
A 2-quarter landing design uses two separate landings to create a full 180-degree turn, making a U-shaped stairway. Each landing handles a 90-degree turn, with straight stairs connecting them.
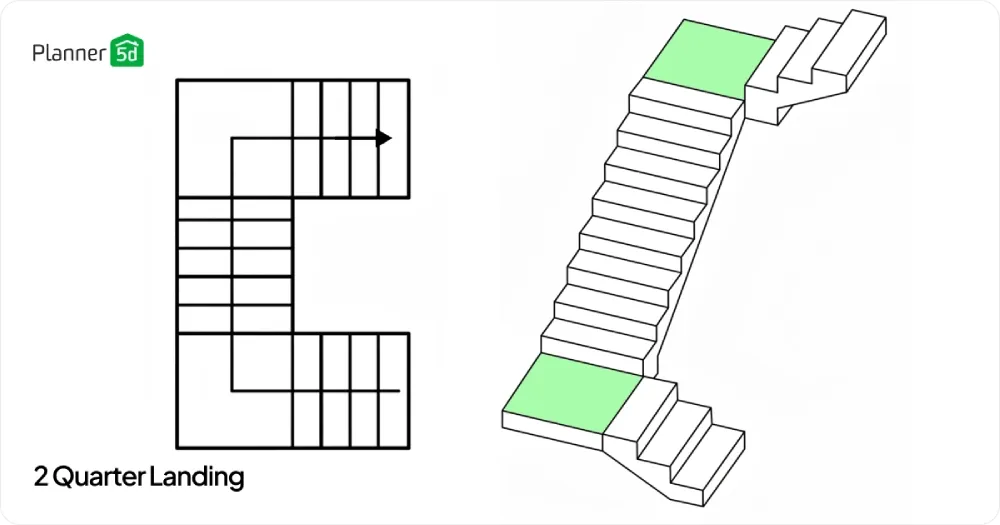
This design feels more open than a single half landing and gives people two places to rest. When you draw these on your floor plan, show each landing as a solid rectangle with straight
Spiral stairs
Spiral stairs wind around a center post in a tight circle. They save space but can be hard to use for moving furniture.
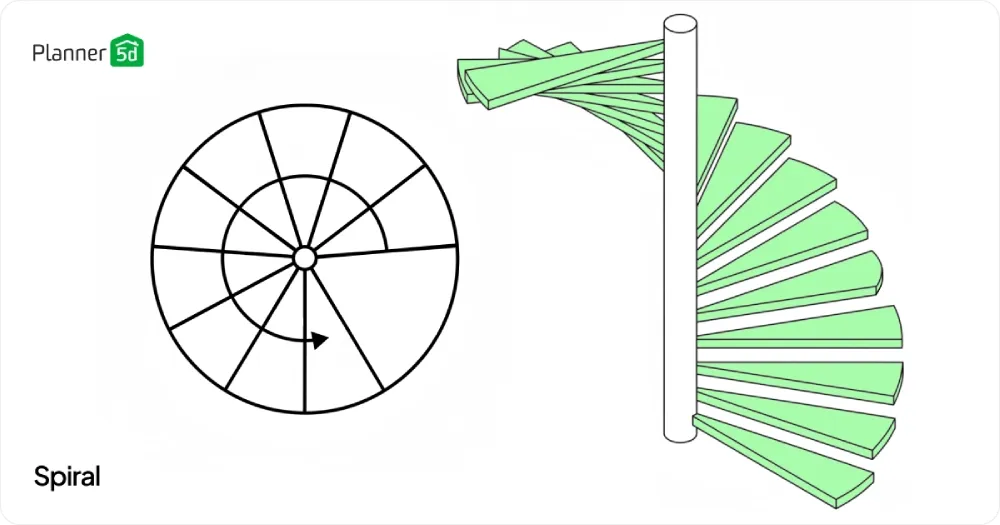
On floor plans, you'll draw these as a circle with lines showing each tread radiating out from the center point. Always note the direction people walk up with a curved arrow.
Curved stairs
Curved stairs follow a gentle arc instead of sharp turns. They look fancy, but they require a lot of space and are more expensive to build.
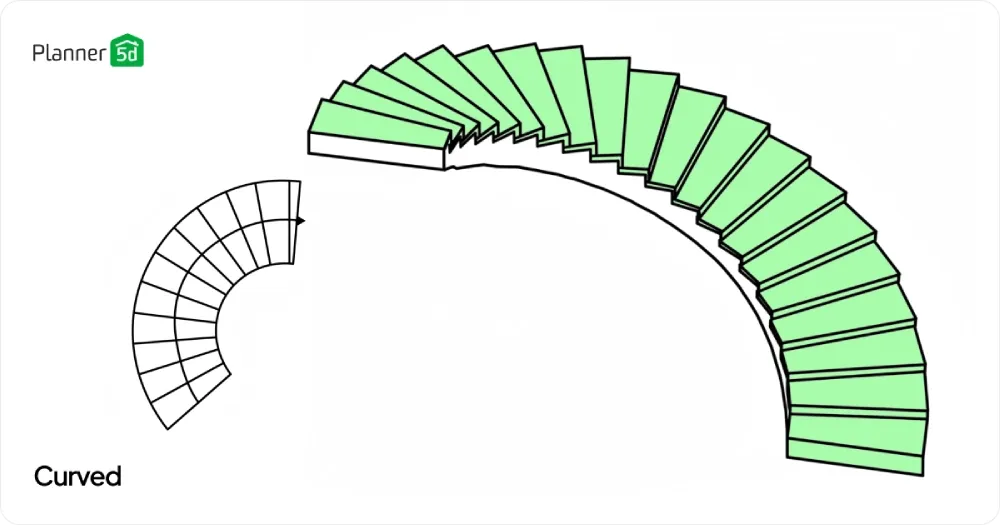
To draw these, use curved lines that follow the path of the stairs. Mark the center point of the curve and show the treads as curved lines.
How to indicate stairs on floor plans
Drawing stairs correctly helps everyone understand your design. Here are the key methods builders and designers use.
How to draw stairs in a plan drawing
Start by deciding where your staircase will go and what stair type fits best. Draw the outline of the stairway opening first, then add the treads as parallel lines inside this space.
Use solid lines for the treads you can see on that floor level. Add dashed lines for any hidden parts, like stairs that continue to the basement or second floor above.
Always include an arrow that points up the stairs from the current floor. Write "UP" next to the arrow so there's no confusion.
For stairs going down to a basement, draw the first few treads with solid lines, then switch to dashed lines for the hidden part below.
How to calculate stairs on a floor plan
Measure the total height from one floor to the next, including the thickness of the floor structure. Divide this by 7 to 8 inches to find how many risers you need.
Want to design your dream home faster?
Let AI do the heavy lifting with Planner 5D.
Each riser is the vertical part between treads. Then multiply the number of treads (which is one less than the risers) by 10 to 11 inches to find the total length your stairs will need.
Don't forget to account for landing depth if your design needs one. A typical landing should be at least as deep as the stair width. Check your local building code for exact requirements, as these can vary by location.
Common staircase design mistakes to avoid
Many DIY builders make the same errors when planning stairs. Here are the big ones to watch out for.
- Not checking headroom clearance. People need at least 6 feet 8 inches of space above their heads as they walk up. Measure this carefully on your floor plan to avoid creating a space where tall people will hit their heads.
- Forgetting about handrails and how much space they need. Handrails add about 3 inches to each side of your stairway, so factor this into your room dimensions. Also, remember that handrails need solid walls or posts to attach to.
- Making treads too narrow or risers too tall. Each tread should be at least 10 inches deep, and risers should stay between 7 and 8 inches high. Stairs that don't follow these rules feel awkward and can be dangerous.
How Planner 5D makes staircase design easy
Modern design software takes the guesswork out of stair planning. Tools like Planner 5D let you create accurate drawings without doing all the math by hand.
Choose your staircase type
The software includes templates for every major stair type. Click on spiral stairs, straight stairs, or any other style you want.
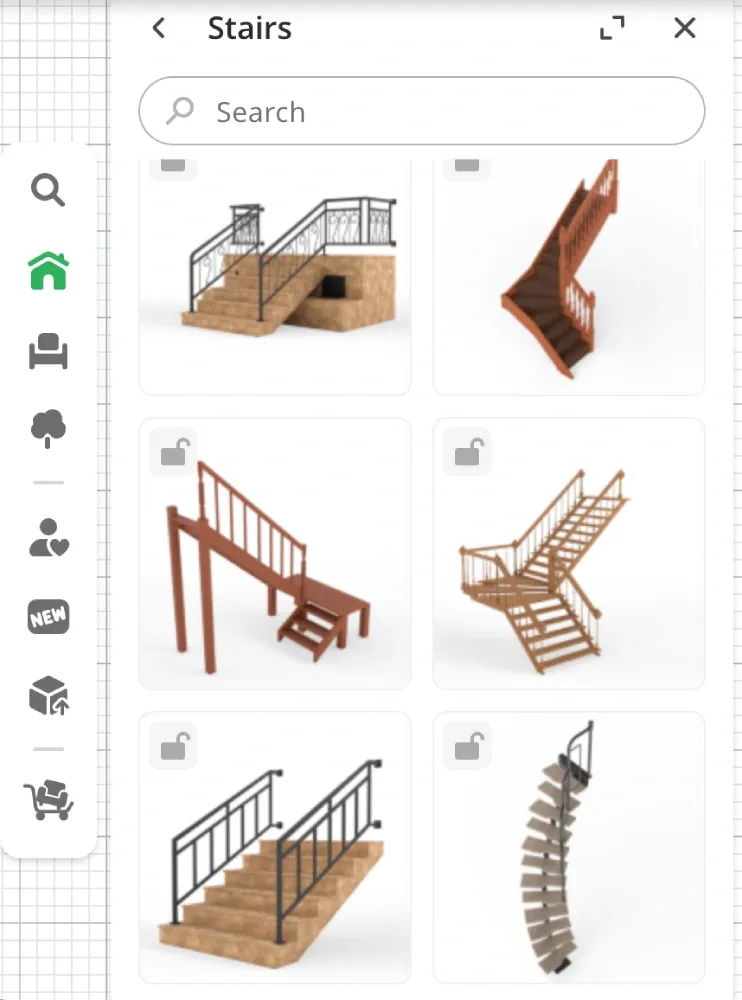

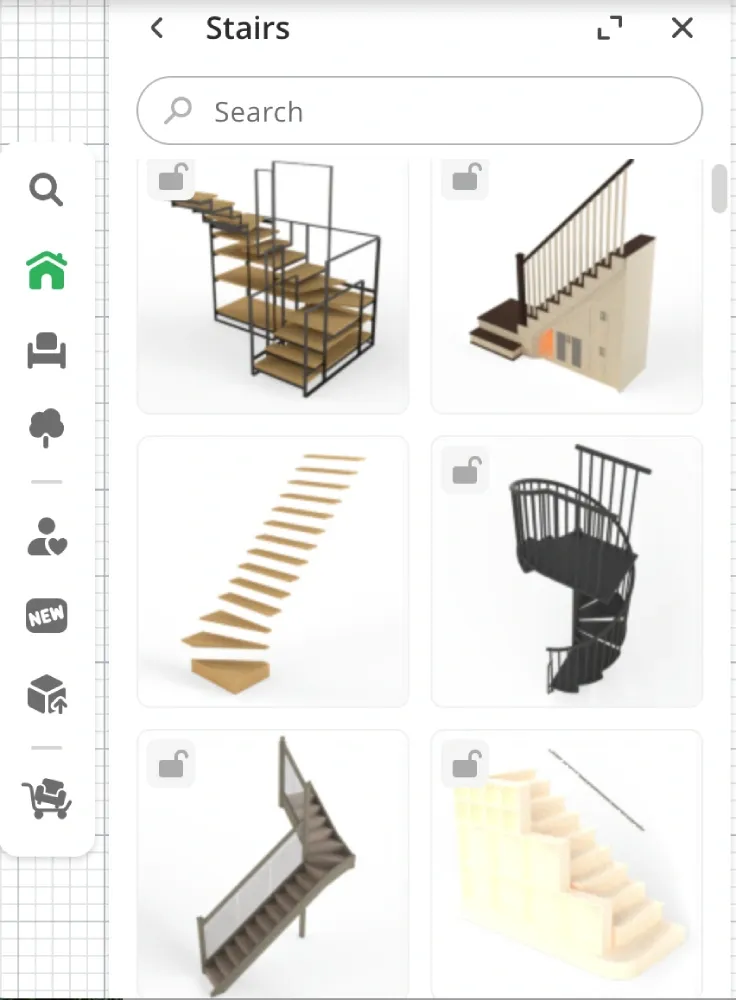
The program automatically creates the right symbols and proportions for your floor plan. You can place the staircase in any room and see if it fits properly.
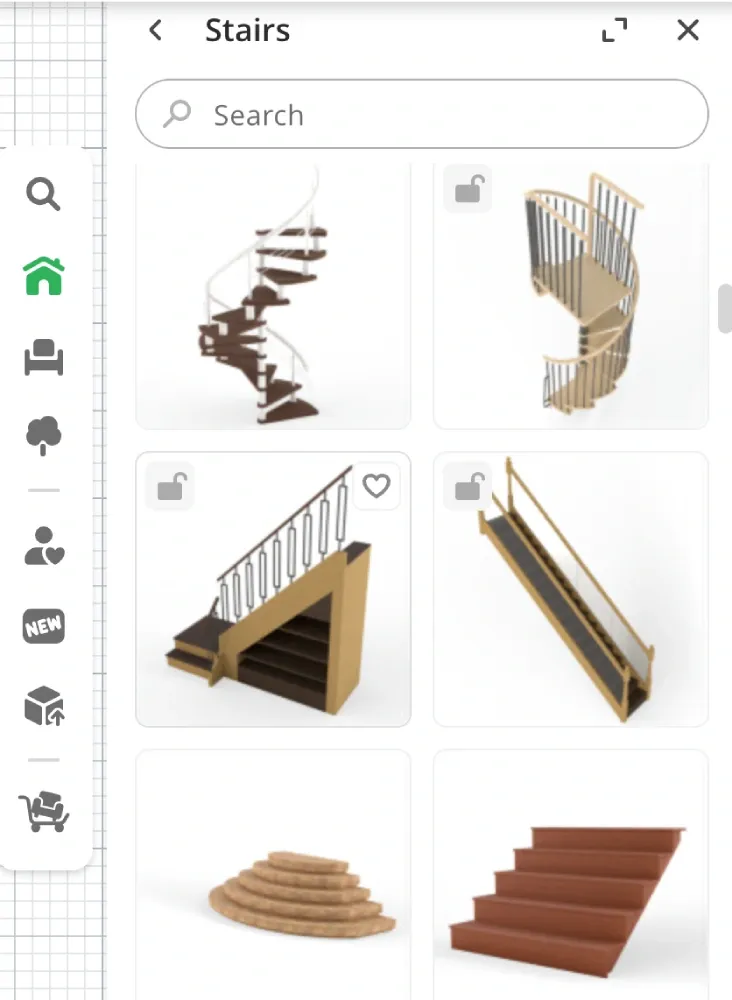
Customize your design
Adjust the width, length, and height to match your space. The software calculates the right number of treads and risers automatically.
You can also change materials, add handrails, and pick different post styles. All these changes show up instantly on your floor plan.
View your staircase in 3D
Switch to 3D view to see how your stairs will look in real life. Walk through your design virtually to check for problems. This helps you catch issues like tight turns or low headroom before you start building.
Conclusion
Learning how to draw stairs on a floor plan opens up new possibilities for your home projects. Start with simple, straight stairs to get comfortable with the basics, then try more complex designs as your skills improve.
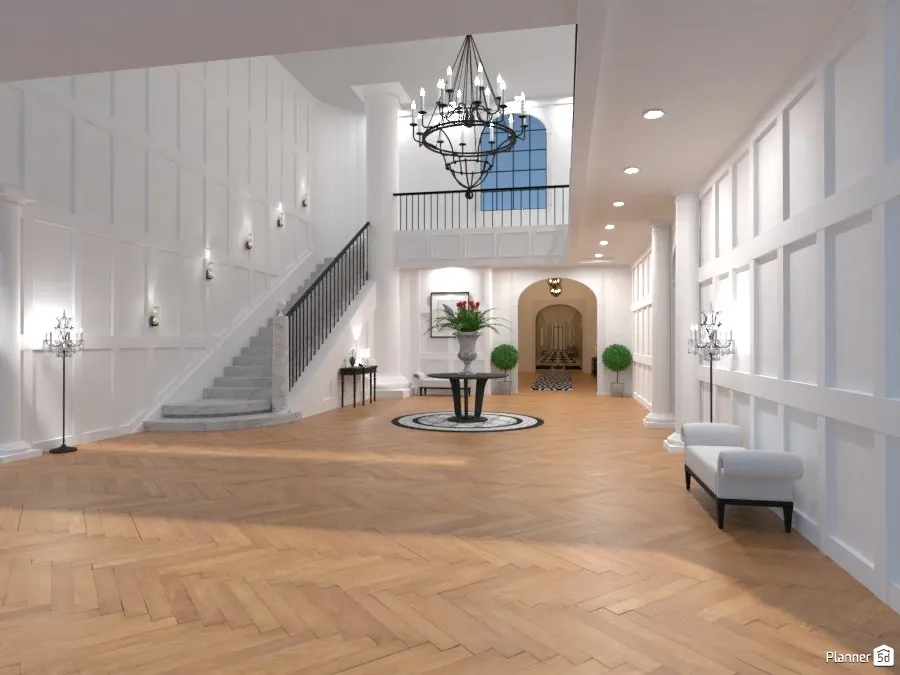
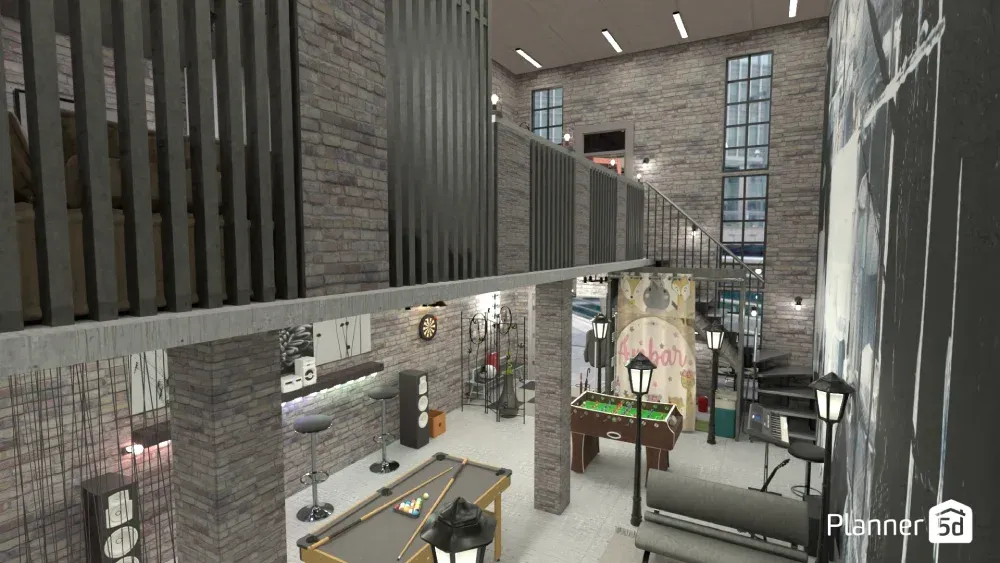
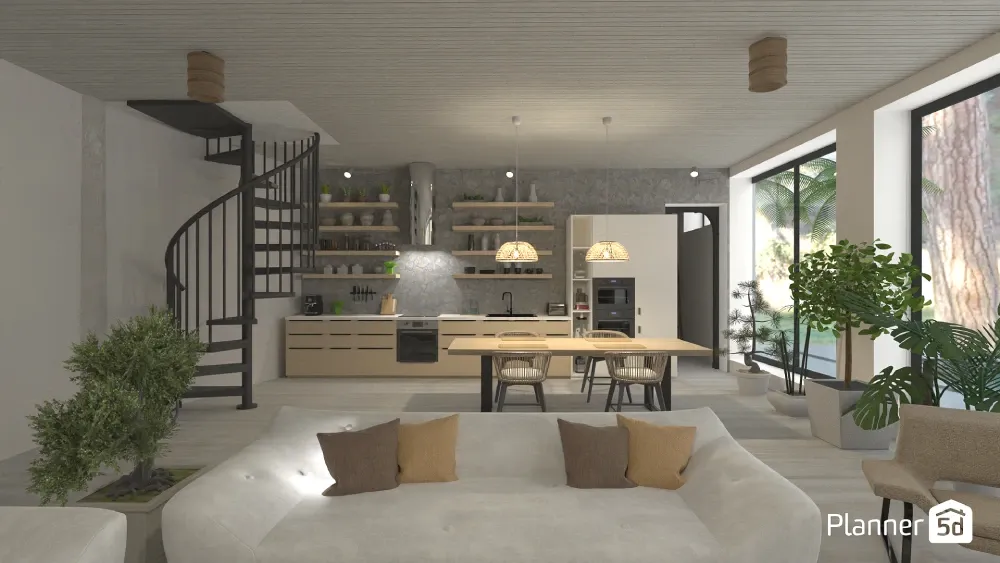
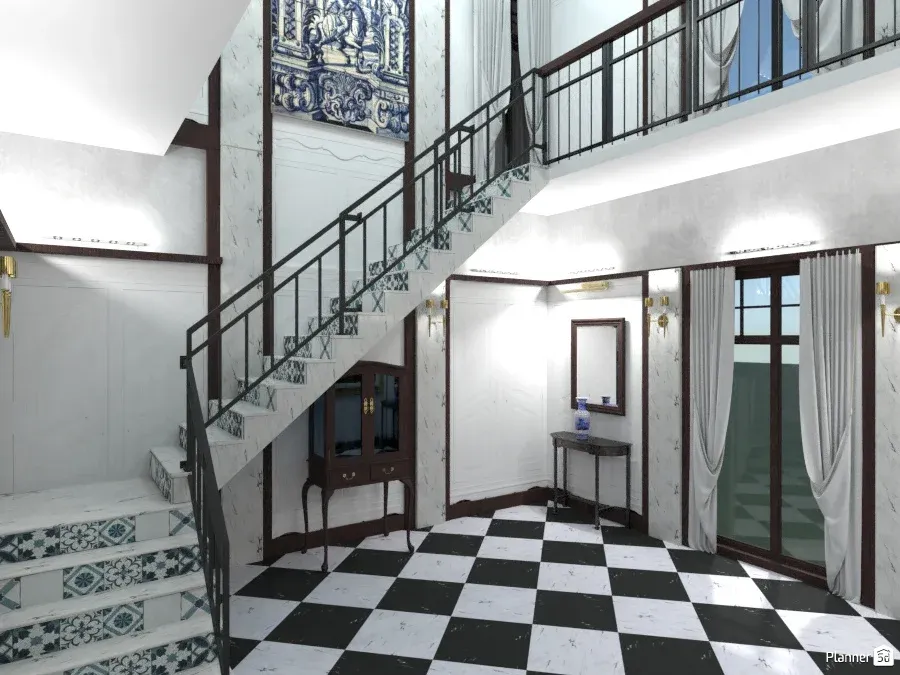
Stairs by: DesignKing, Yolanda Infante Garrido, Olga and Ricardo Barros with Planner 5D
Remember to always check the requirements and local building codes before you do any work. Consider hiring a professional for structural work if you're unsure about the process. With practice, you'll be sketching staircases like an experienced designer.
Planner 5D: The Future of Interior Design
Experience the power of AI-driven design with Planner 5D. Our innovative tools, including the Design Generator, Smart Wizard, and AI floor plan recognition, make bringing your dream home to life easier than ever. Transform your vision into reality and unlock a world of design possibilities today.
Start designing your dream home