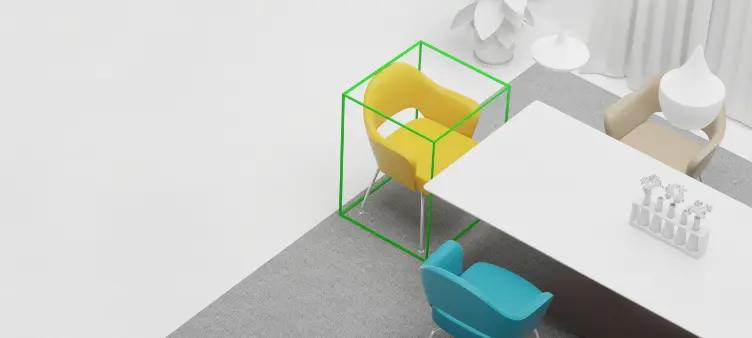
Creating professional and stunning interior designs has never been easier before! Planner 5D delivers a bunch of amazing and cutting-edge tools that let you arrange space for any room without having professional skills. To make things even easier, we offer an ultimate beginner guide for you to create fully featured projects at several clicks.
1. 4 Simple Steps to Get Started
To start designing your dream home, users will have 4 major options. They can start building a new project from scratch or benefit from the plan recognition feature. Upload an image with the blueprint to get a fully-featured 2D/3D render. Users may also continue working on the exiting project or select a ready-to-use template and customize it.
2. Adding Rooms and Changing Wall Dimensions
Planner 5D offers several baseline room options that can be resized and reshaped in accordance with your project requirements. You are free to add additional angles or change the room size by hovering the object edges in any direction, add wall height using detailed specs to create the most complex-shaped spaces using a beginner-friendly control panel.
3. Adding and Customizing Windows and Doors
The next stage is to add windows and change their dimensions if needed. The app makes it easy to add doors and windows wherever you want. You may set the opening direction to meet ergonomic requirements as well as choose specific types of objects (front and backdoors, sliders, arches, French doors, windows of various colors, shapes, and styles, etc.).
4. Furniture Arrangement and Décor
At this stage, we are ready to add some style and coziness to the room. Planner 5D offers more than 6,000 different elements and objects to adjust to the project with a click. Choose from ready-made kitchen layouts and pieces of furniture or create one of your own. Place coffee table,s rugs, mirrors, paintings, pants, and thousands of other objects that will make your design look complete.
5. Adding a New Floor
Even if you are planning a complex space with several floors, Planner 5D will ease the process letting you add as many floors as you need. When the ground floor is ready, add a new one and repeat the process.
6. Adding Stairs
Let’s say, you are creating a design for a space with two floors. Then, you will need some stylish and practical stairs. Our catalog offers a wide selection of stairs that vary in shapes, colors, and styles. Choose the one that meets your interior, change dimensions if needs, and find the best place to apply it to the plan.
7. Adding Textures
Your future home is almost ready but it still calls for several finishing touches. A variety of wallpapers, tiling, leather, fabric, and other materials will help you highlight specific living zones, divide spaces, and create a cozy interior that reflects your personality.
8. Developing Foundation
If you are designing an interior for the cottage or house, you will need a proper foundation. Adding foundation is as simple as adding a new room (video 2). You are free to set specific dimensions manually as well as change the shape, add front steps, doors, and windows. The app offers several finishing materials that you may try out to decorate your house from the outside.
9. Creating Balconies
We are almost there. The last thing you might need to know is how to add a balcony. Once again, we follow the same process as adding a new room to create a separate space with windows and finishing materials. When the balcony is ready, you may adjust it to the bigger plan.
You have learned all the baseline Planner 5D tools that will help you start creating your own interior from the blank. However, there are still so many great things to learn. Stay tuned and follow our channel to be the first to know all the insights from our experienced and dedicated Planner 5D experts.


