How to Set Up Specialized Workout Zones in Your Home Gym
Not sure where to put your gym equipment? Read this first.
Most people throw a few dumbbells in the corner and call it a gym. That works for a while, but soon you're tripping over yoga blocks while trying to deadlift, or your boxing bag is swinging into your squat rack.
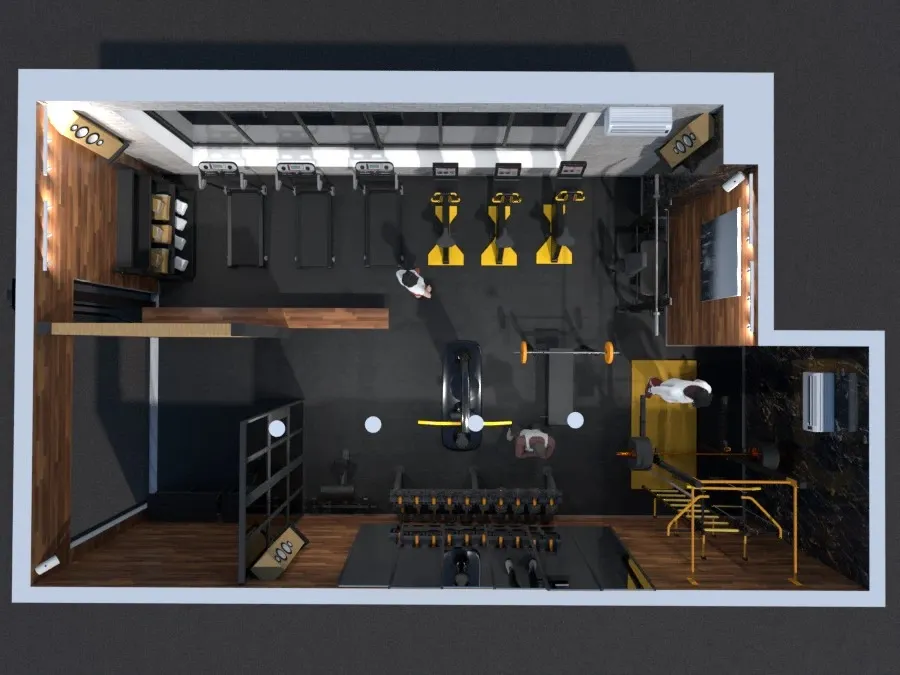
The fix? Stop treating your home gym like a storage closet and start thinking in zones. Here's how to turn any home gym into a multi-purpose workout space.
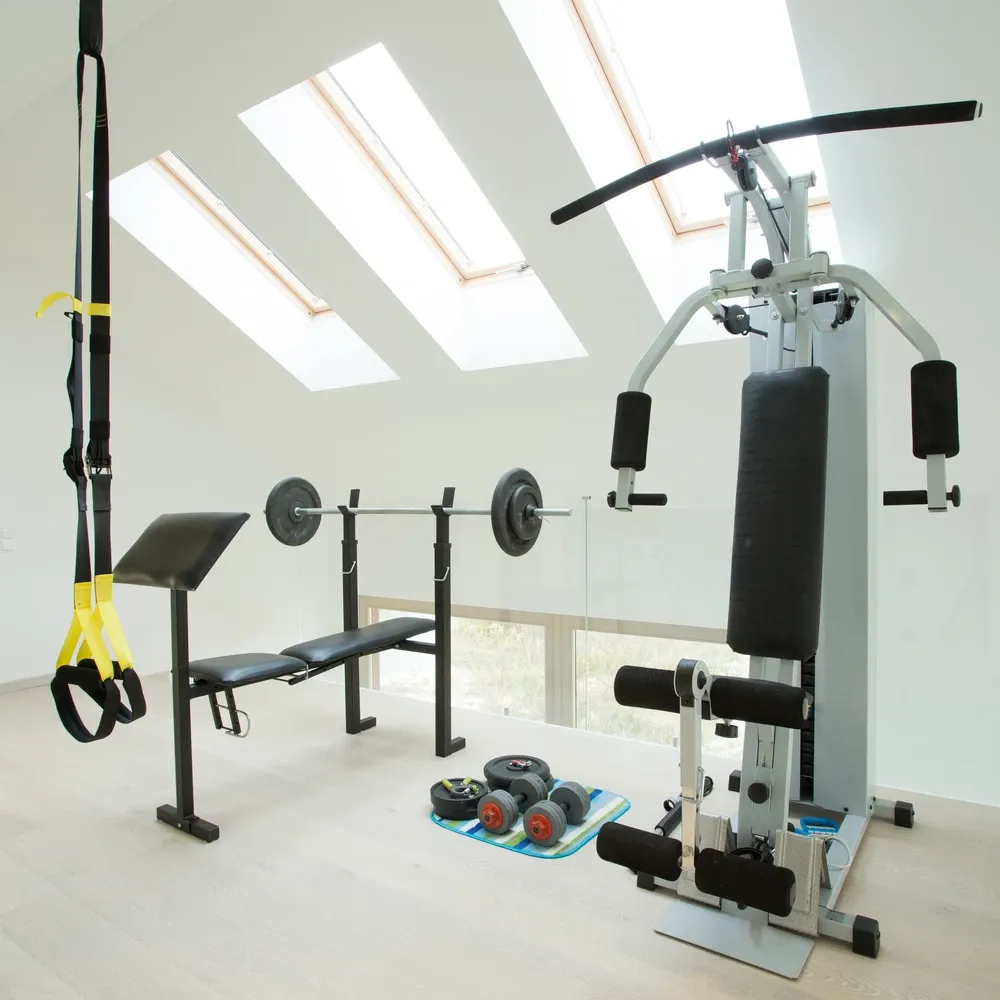
The strength corner
If you are serious about strength training, your lifting area should be well-organized and efficient. You should begin with a power rack or squat rack.
Want to design your dream home gym?
Use our online gym planner now.
This equipment lets you perform bench presses, squats, and overhead lifts without a spotter. It is also important to purchase a rack with a pull-up bar to save space. You can also add more variety to your workout routine.
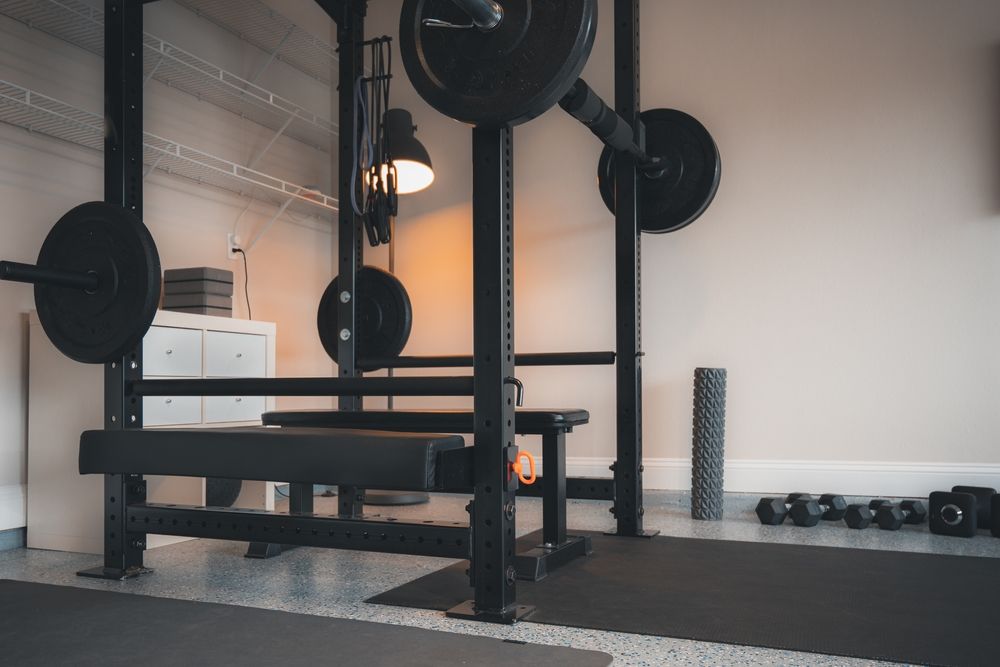
Setting your workout rack against the wall is a wise choice. It makes the rack sturdier and opens up space in the center of your gym, allowing for more exercises.
You can keep your barbell on a shelf or mounted on the wall. Storing weights on a weight tree or special storage pins also helps keep everything organized. The goal is to have all your equipment within reach so you don’t waste time walking back and forth between your sets.
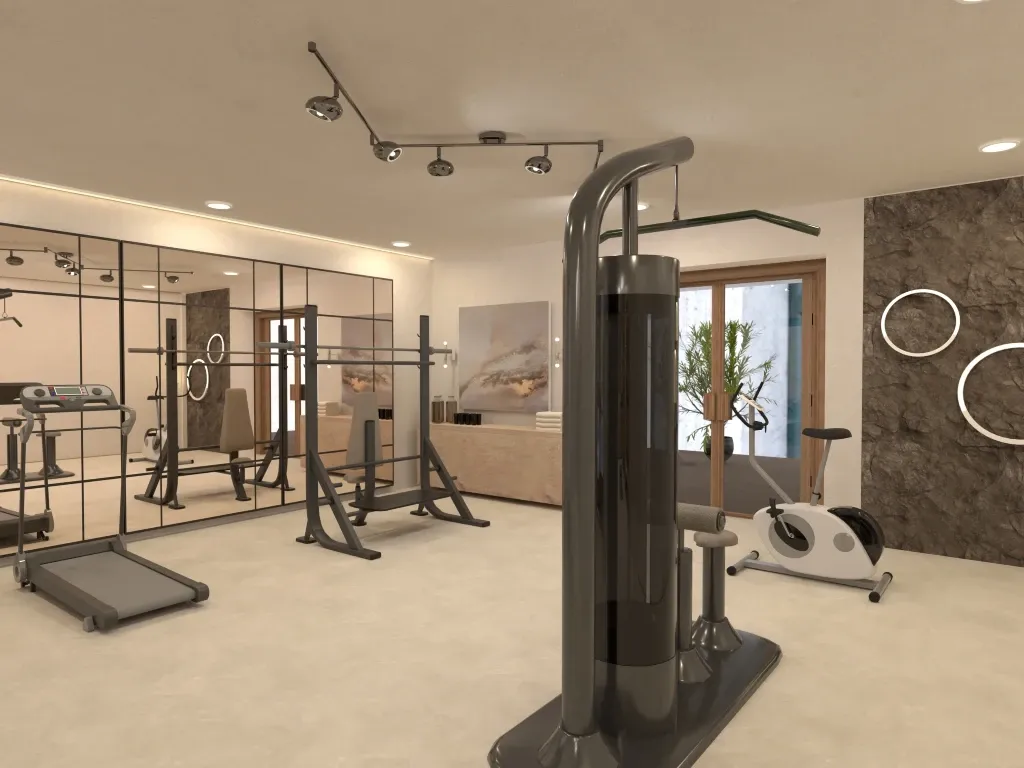
Don’t overlook the value of mirrors. Having a full-length mirror in your gym allows you to check your form as you work out. This helps ensure you're doing exercises like squats correctly and safely. Just remember to use gym mirrors, as regular mirrors can break easily if something heavy hits them.
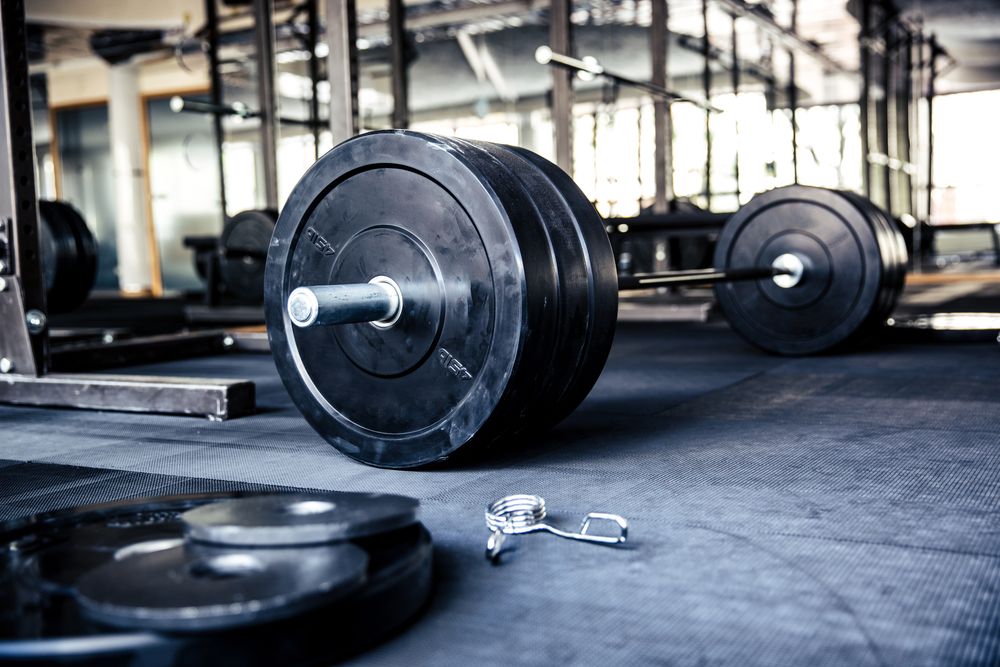
For flooring, consider a thick rubber mat at least half an inch thick to protect your floors. If you're doing Olympic lifts, a lifting platform can be invaluable. Both options will protect your floor from falling weights and provide a solid surface, making lifting safer.
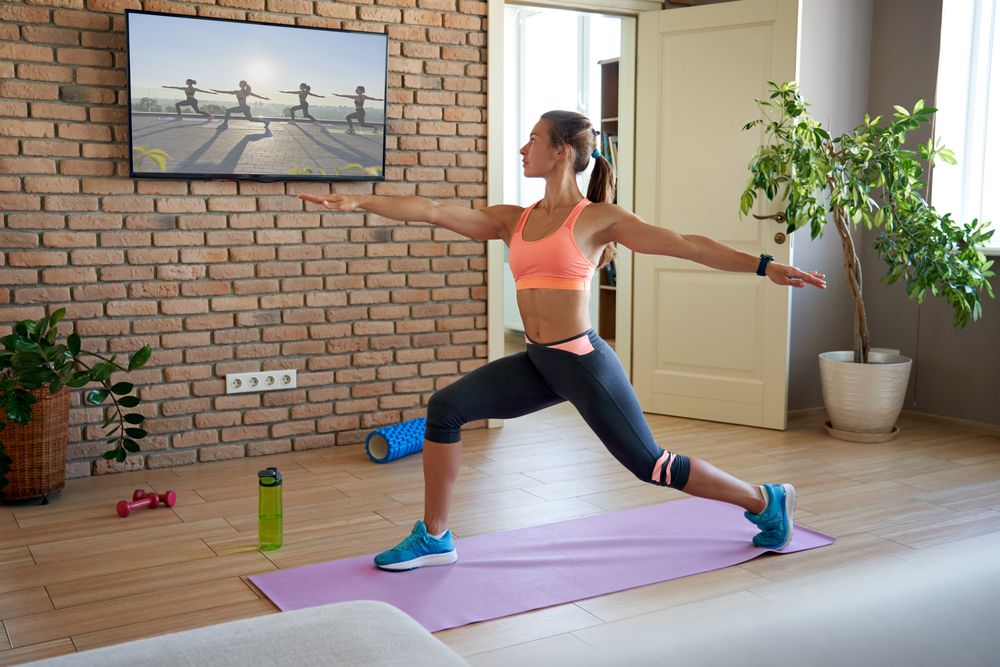
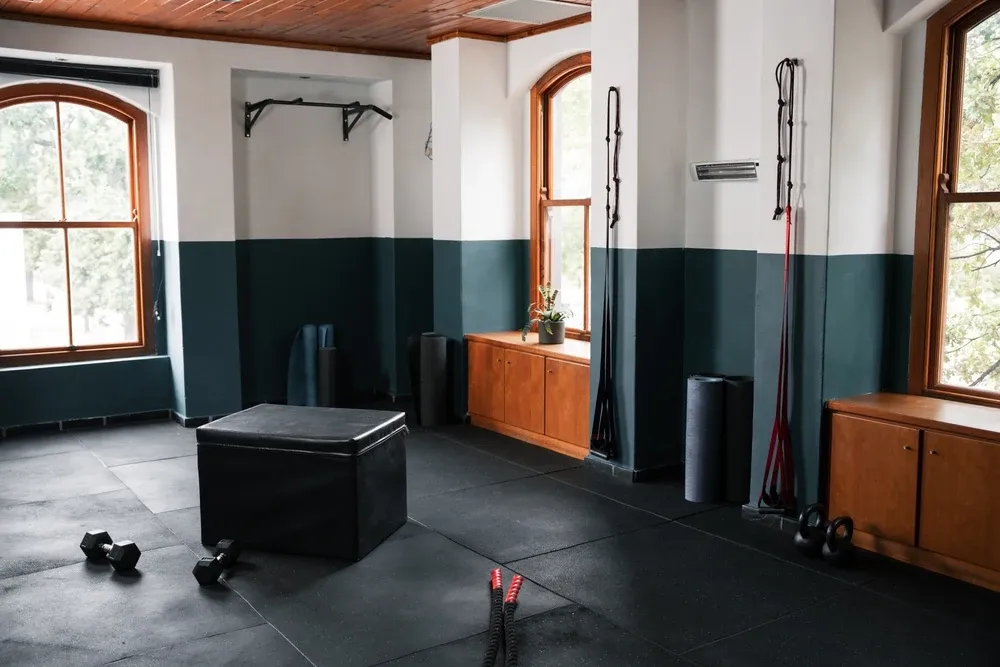
Yoga and mobility space
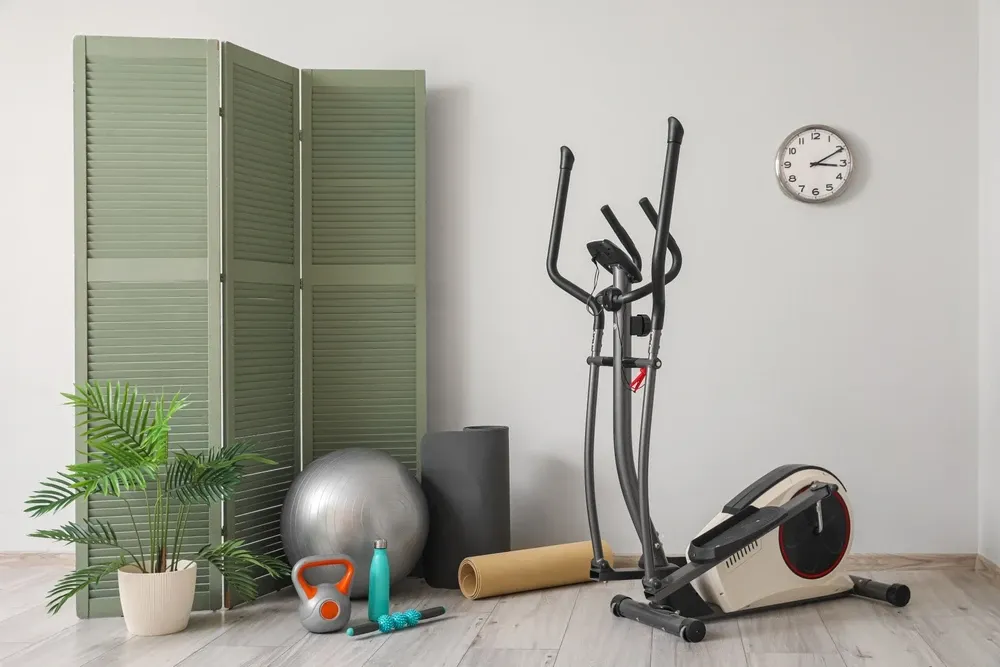
Your yoga area should have a distinct vibe, separate from the hustle and bustle of your lifting zone. This is where you can unwind, stretch, and focus on mobility without the distraction of heavy weights.
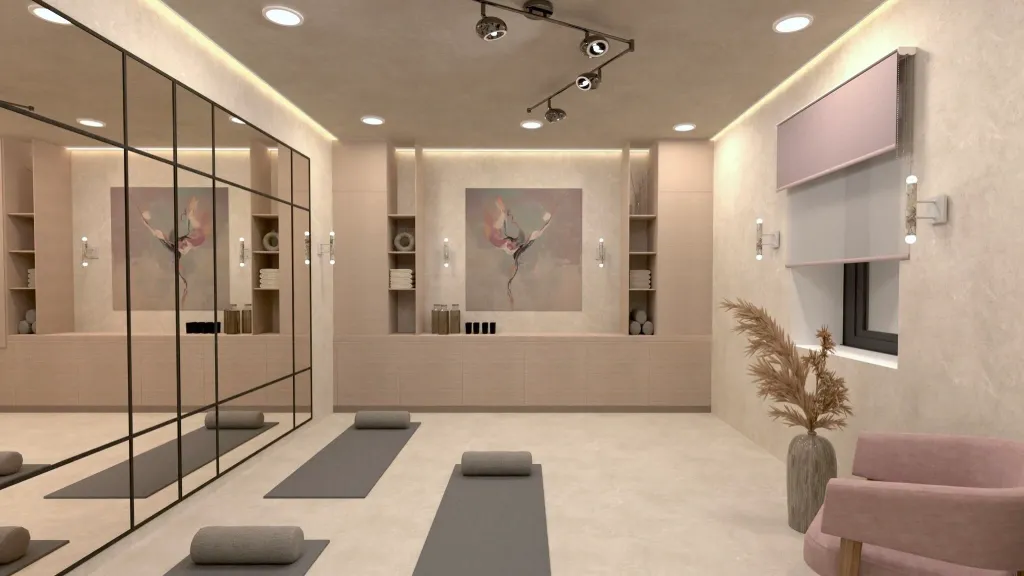
Start with soft flooring, such as cork or thick foam tiles, rather than rubber, as they provide a gentler touch during floor work. If your gym is in a garage, consider rolling out an area rug or using interlocking foam squares that you can easily store when you need extra space.

Keep this zone minimal and calm. A simple wall-mounted shelf or basket can neatly hold blocks, straps, bolsters, and resistance bands. If space allows, pop in a small speaker for music or guided sessions. Natural light is a bonus, so position your yoga area near a window.
Aim to create a serene environment. A simple curtain or room divider can help delineate your yoga zone from your lifting area if they're close together.
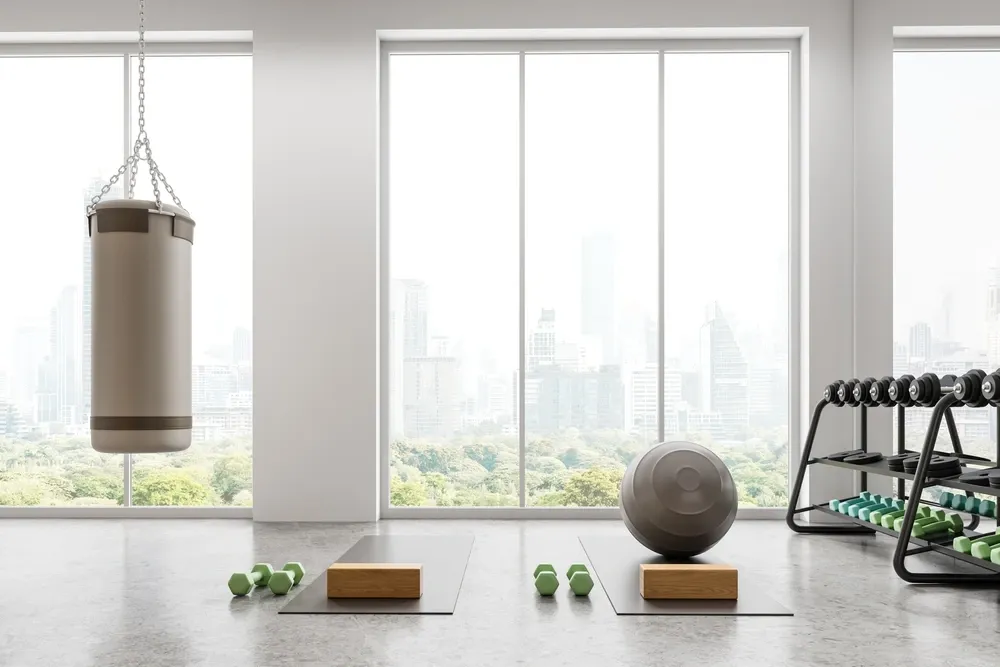
Combat corner for boxing
If you’re setting up a boxing area, you'll need two essential components: a secure place to hang your bag and flooring that’s designed for movement.
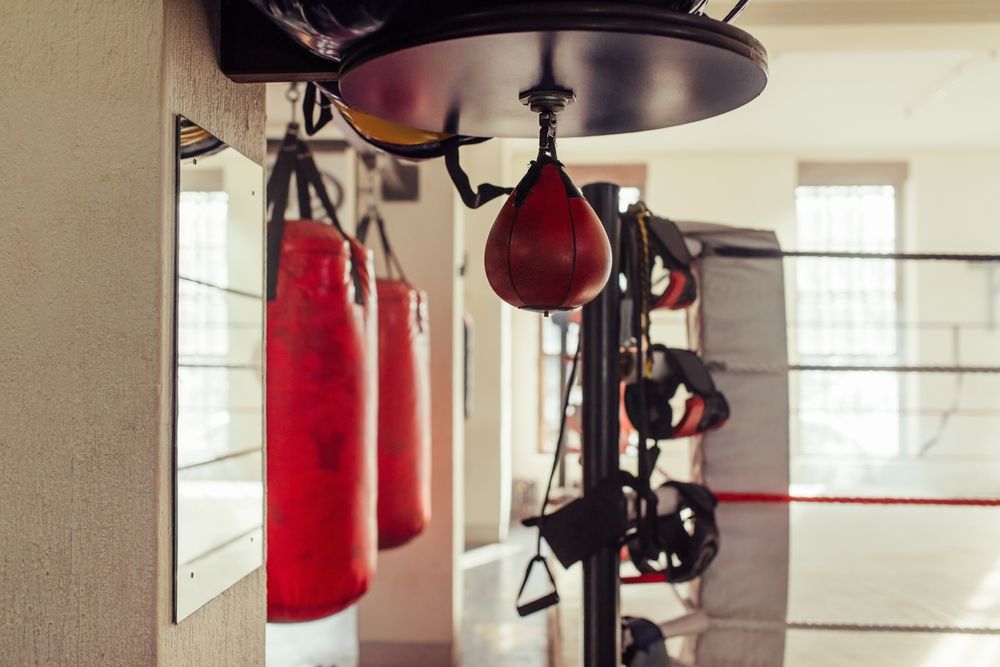
When hanging heavy bags, make sure to hang them from a sturdy fixture, such as a ceiling joist or a wall-mounted bracket rated for dynamic loads. If you're unsure about your ceiling’s capacity, consult with an expert or opt for a freestanding bag stand for peace of mind.
Speed bags require a different setup, typically mounted on a platform. You can purchase one or build it yourself from plywood and a swivel. Ensure it’s positioned correctly with the middle of the bag at your eye level.
For flooring, choose something that offers both cushioning and grip. Puzzle mats are an option, but they may slide around with fast footwork. Rolled rubber flooring tends to stay in place better. Avoid carpet, as it can throw off your balance.
If you have the wall space, consider adding a mirror. Watching your punches can help you quickly correct your form, enhancing your training. Also, be sure to set up a designated spot for your gloves, wraps, and jump rope—a simple hook or bin can keep your gear organized and easily accessible.
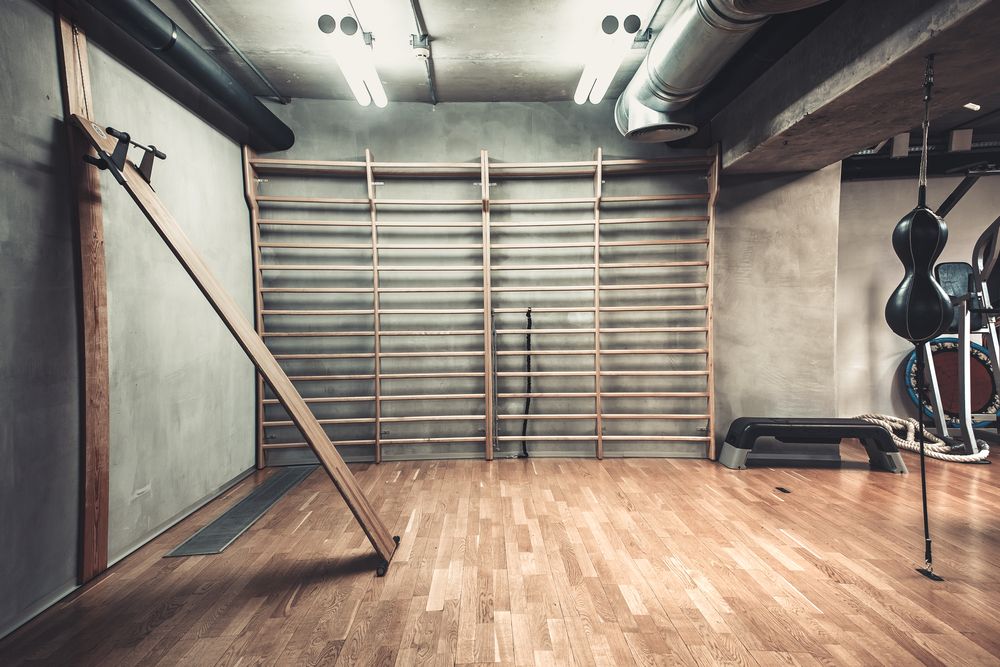
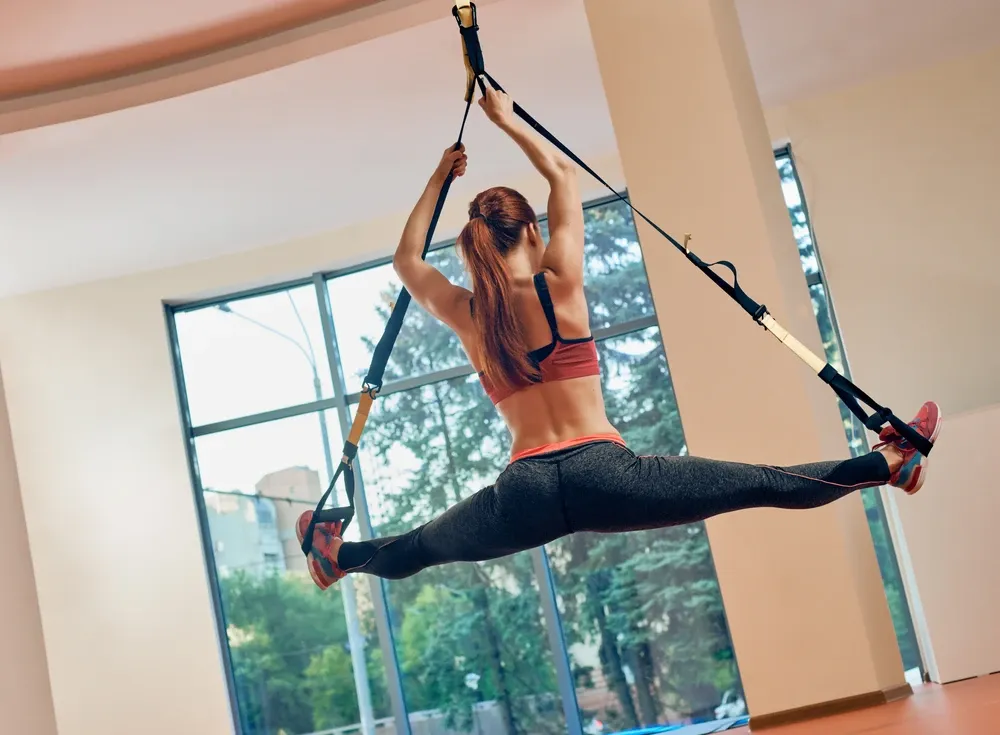
Callisthenics zone
If you're looking to train with rings, parallettes, or pull-up bars, you need a clear and safe area with vertical space.
Mount gymnastics rings to ceiling joists or a pull-up rig, ensuring your ceiling is high enough. Aim for at least eight feet so you can perform dips and muscle-ups without risk of hitting your head. Always have thick crash mats or stall mats beneath, avoiding concrete for safety reasons.
Home gym design made easy.
Design the perfect workout space.
Parallettes can stay on the floor, but don’t skip on padding, as even simple exercises like push-ups or L-sits can result in slips. Foam tiles or gym mats offer the necessary cushioning without breaking the bank.
When it comes to pull-up bars, wall-mounted options are great for saving space. Ceiling-mounted rigs allow for a bit more freedom, but they're a more permanent solution. Doorway pull-up bars can work in a pinch, but they can limit grip variety and potentially damage your door frames over time.
Leave ample floor space around this zone for movement, as callisthenics and gymnastics require room to stretch and move freely without the risk of bumping into equipment.
Functional fitness area
Every gym should have an open area. This is where you can perform circuits, sled pushes, agility drills, and any exercises that require you to move around freely.
Incorporate this open zone into your layout, ensuring it’s large enough for activities that may involve a lot of lateral movement or fast-paced action.
By thinking in zones, you can create a home gym that not only is efficient but also truly enjoyable to use. This will help you stay motivated so you can reach your fitness goals more effectively.
How to plan your layout
The biggest mistake you can make is buying equipment before you figure out where it's going. A power rack that looked perfect online might not fit under your garage door opener. A heavy bag might block your only window.
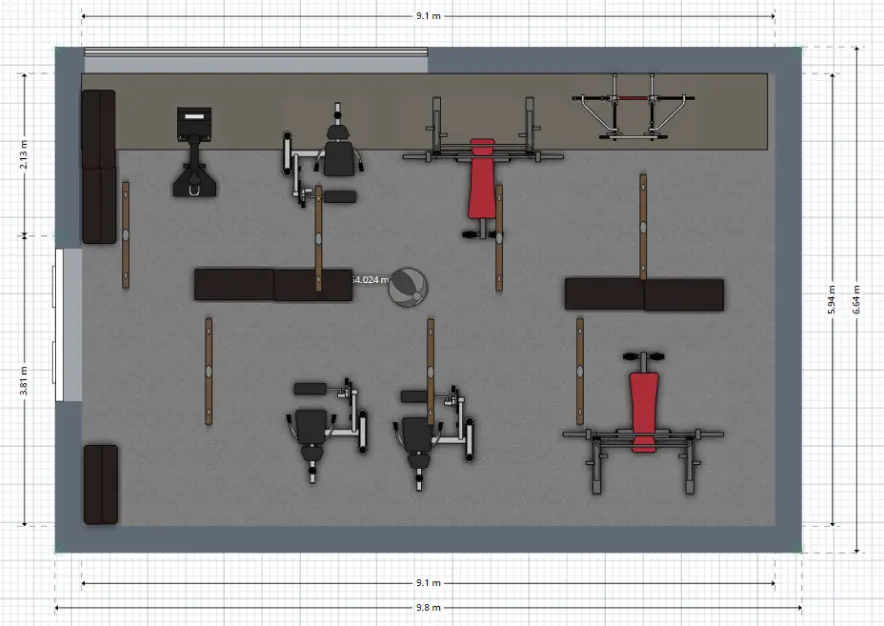
Before you buy anything, measure your space. Write down ceiling height, wall length, and any obstacles like support beams or water heaters. Then sketch out your zones on paper or use a floor plan tool.
Think about how you'll move between zones. You don't want to walk through your yoga area to get to your barbell. Group similar activities together: lifting and functional fitness share equipment, so they can be close. Yoga and stretching work better in a quieter corner.

Start with one zone and build out from there. You don't need everything at once. A good lifting setup beats a half-finished gym with equipment you never use.
Don't leave your progress to chance.
Design a space that perfectly fits your goals.
Your gym should grow with your training. As you get stronger or try new things, add zones or upgrade equipment. But the foundation stays the same: clear zones, smart storage, and a layout that makes you want to train.
Conclusion
Selecting the best home gym equipment is a very personal choice. When you carefully choose equipment that suits your current fitness level and can grow with you, you create a home gym that will serve your workouts as your needs change.
From the floor of your home gym to the smart technology you integrate into your equipment, every choice you make helps build a gym that will last and inspire you to reach new heights. Your home gym is not just a room. It's an investment in your future and a healthier you.
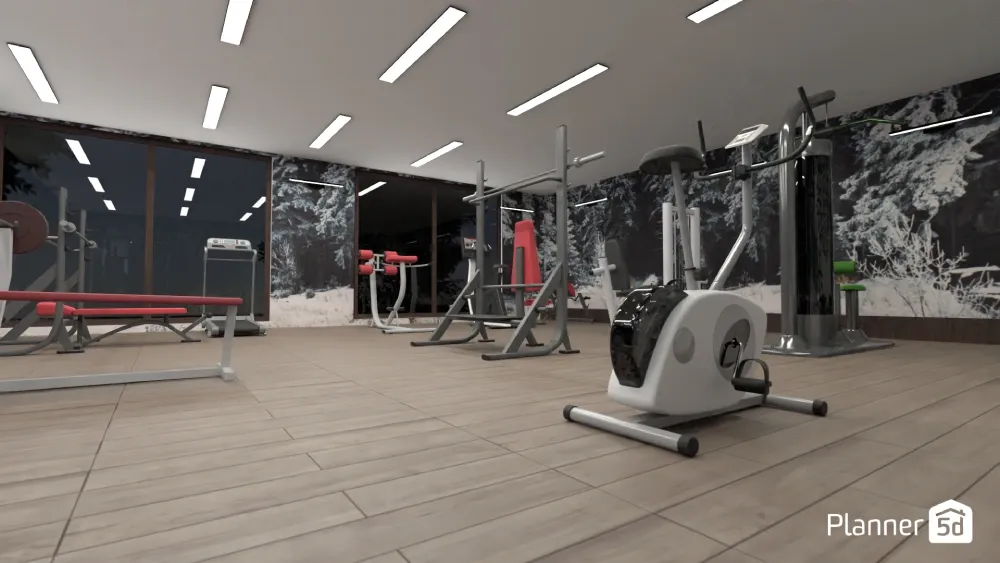
Planner 5D: The Future of Interior Design
Experience the power of AI-driven design with Planner 5D. Our innovative tools, including the Design Generator, Smart Wizard, and AI floor plan recognition, make bringing your dream home to life easier than ever. Transform your vision into reality and unlock a world of design possibilities today.
Start designing your dream home