How to Make Your Renders More Realistic
Want to know how to create a realistic render that wows? Check out the tips from our pros.
One of the most common comments we hear from our users is about creating realistic renders. So, if you're wondering why your renders don't look as good or realistic as those done by our designers, then this post is for you.
Our secrets to making renders that wow
We asked our designers for tips on how to create clear and realistic renders. Here is what they said.
- Choose the right angle: Select a viewpoint that showcases the best aspects of your space. This usually means positioning the camera at a right angle to the room's main features. A well-chosen angle can highlight the room's layout, key design elements, and overall aesthetic, giving viewers a comprehensive understanding of the space.
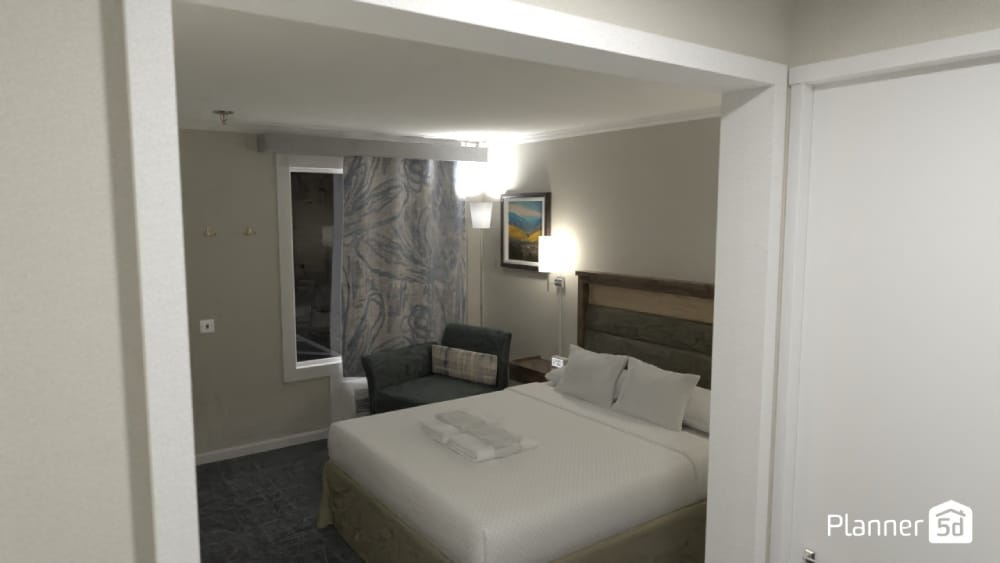

Before & After: Taking a photo of the same room from a better angle automatically improves the render
- Set the correct composition and render angle: Pay close attention to the composition of your render. Ensure that the perspective is accurate and natural-looking. A proper render angle should mimic how the human eye would perceive the space in real life. This includes maintaining correct proportions and depth, which are crucial for creating a realistic and immersive visual experience.
- Implement good lighting solutions: Lighting can make or break a render. Experiment with different light levels and color temperatures to create the desired ambiance. Use a combination of ambient, task, and accent lighting to add depth and dimension to your space. Consider how natural light would interact with the room at different times of day for added realism.
- Decorate the space carefully: A well-decorated space feels lived-in and authentic. Add props and decorative elements that suit the room's style and purpose. Avoid leaving large empty spaces, as they can make the render feel unrealistic or incomplete. Strike a balance between a clean look and a space that feels lived in.
- Ensure objects are to scale: Maintaining proper scale is crucial for a realistic render. Ensure all furniture, decorations, and architectural elements are sized correctly in relation to each other and the room. Incorrectly scaled objects can immediately break the illusion of realism and make the space feel artificial or poorly designed.
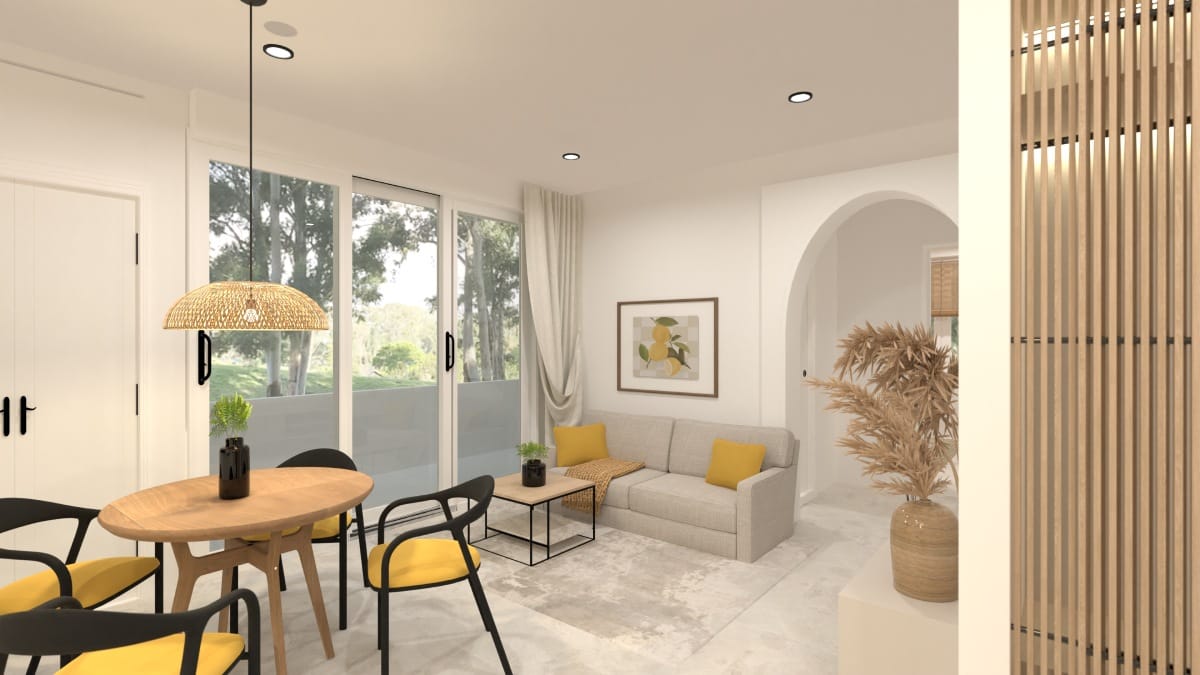
Before & After: Adding items like curtains, plants and an outside view makes the room more realistic
- Choose high-quality textures: High-quality textures are essential for creating realistic renders. When selecting textures in Planner 5D, opt for high-resolution and realistic detail. If you're adding custom textures, ensure they are of excellent quality. Poor textures can make even the best-designed spaces look amateurish or unrealistic.
- Select between HD or 4K renders: Choose the appropriate render resolution. All HD renders offer a good balance between quality and file size, suitable for most purposes. If you want your renders to look more realistic, then use 4K renders. They provide exceptional detail and are ideal for professional presentations but require more processing power and storage.
- Add accent lighting: Utilize accent lighting to create an atmosphere and draw attention to key elements in the room. This could include spotlights on artwork, under-cabinet lighting in kitchens, or soft lighting on shelving units. Accent lighting adds depth, creates visual interest, and can dramatically improve your render's overall mood and impact.
- Include elements from everyday life: Incorporate elements from daily life. Add items like a coffee mug on a table, a throw blanket on a sofa, or books on a shelf to make your render feel more lived-in and realistic. For added realism and visual interest, include reflective surfaces like mirrors, glass tabletops, or chrome fixtures. These details bring life to the space.
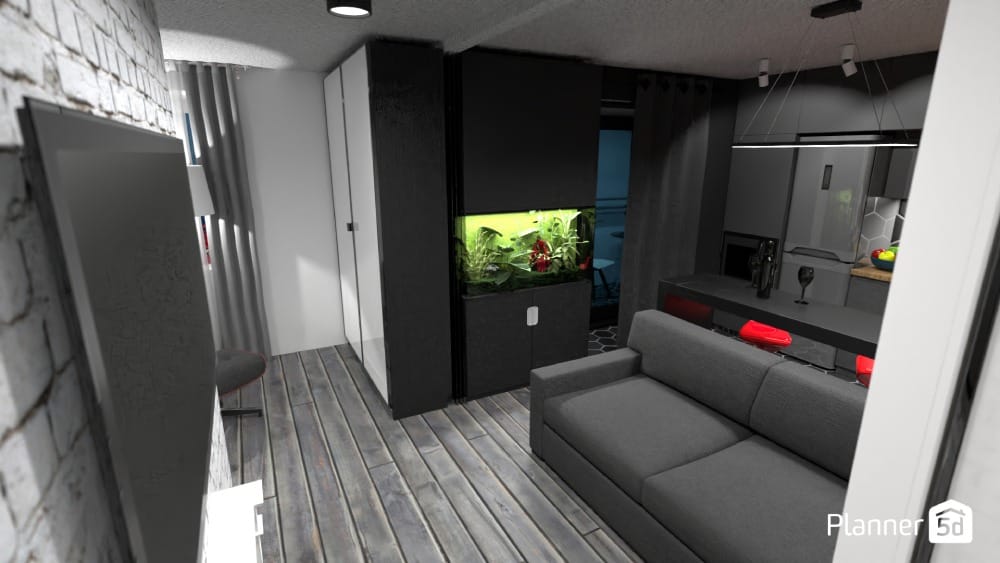
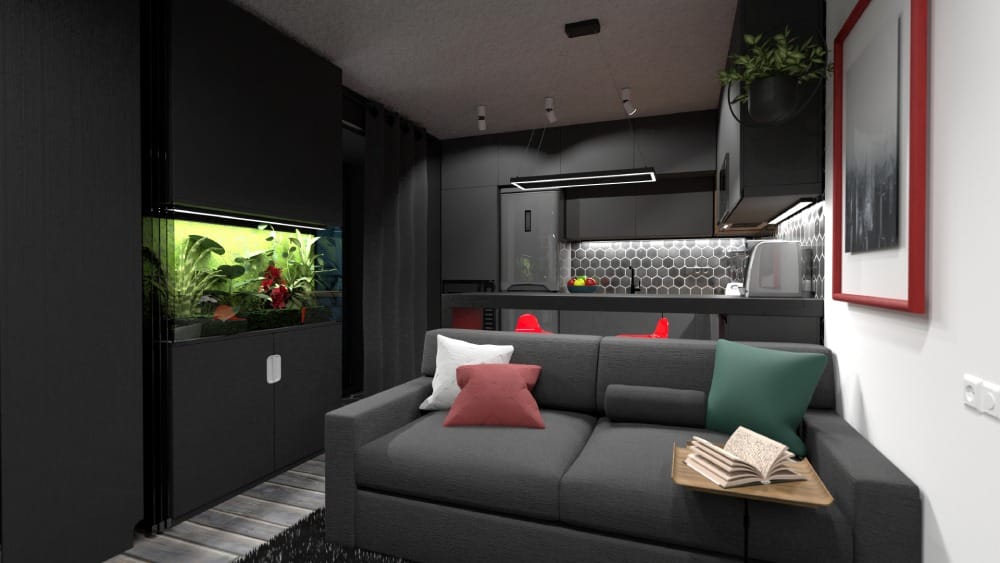
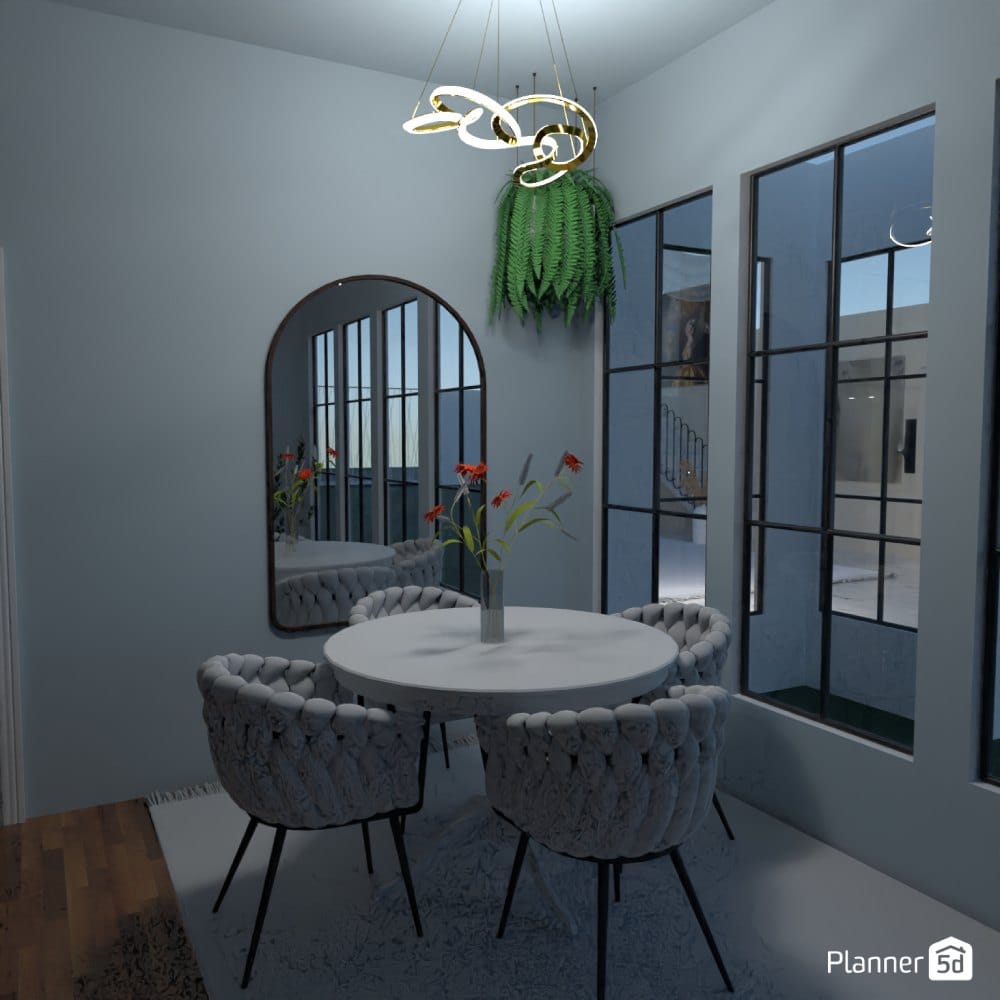
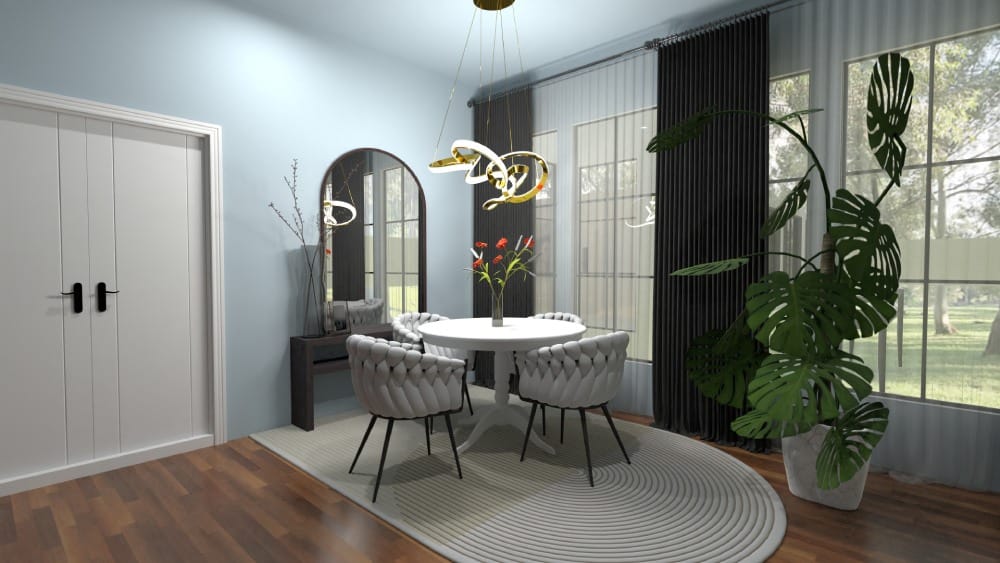
Before & After: Changing the camera angle and adding everyday items makes this room more lived-in
- Add a view outside the window: Don't neglect the view outside. An empty white space beyond windows can break the illusion of realism. Add an appropriate outdoor scene that complements the interior. This could be a cityscape, a garden view, or a natural landscape. The exterior view should match the style and context of your interior design.
- Avoid common render mistakes: Be vigilant about common rendering mistakes that can detract from your final image. Ensure no objects are floating unnaturally in the space. Check that furniture isn't blocking the camera view in awkward ways. Pay attention to details like proper shadow casting and reflection accuracy. These minor oversights can significantly impact the overall quality of your render.
Why use 4K renders?
The regular HD renders will give you a good idea of how the space will look, but you'll miss out on those important details and potentially end up with distortions. When you work with clients, the quality of your renders matters and can lead to more interior design gigs.
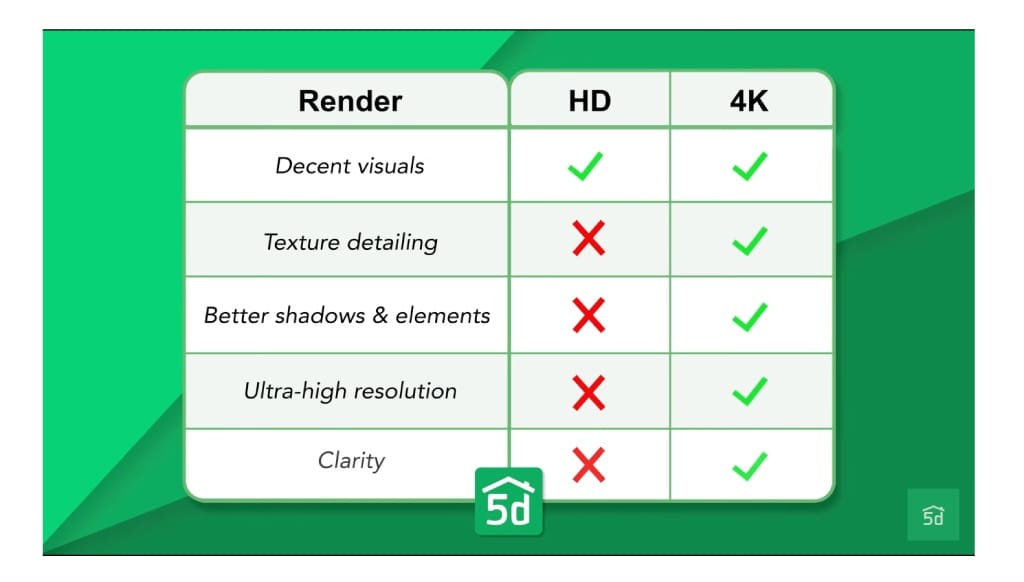
The 4K renders are amazing because they help you visualize the final design as if you were actually in the room. Regular renders offer decent visuals, but they can miss out on the finer details and textures that bring a design to life, whereas a 4K render will deliver ultra-high resolution and clarity.
How to access Planner 5D 4K renders
To make super realistic 4K renders and visuals, you need to be a PRO user. As a Planner 5D PRO user, you also have access to powerful features like 360-degree panoramas and walkthroughs.
The 360-degree panorama lets you create stunning panoramic views, giving you your complete design in one shot. Then, there are 360-degree walkthroughs, which allow you to take immersive virtual tours of your designs.
With a Planner 5D PRO account, you can produce stunning visuals to impress your clients and elevate your design projects.